Mostly copied from here.

A well-formulated shooting schedule can be the difference between production heaven and production hell.
Production scheduling might not sound exciting, but it is one of the key differences between a positive film set experience—and a film set that leaves you regretting your life choices.
Some filmmakers get so caught up in the creative elements that they leave scheduling to the last minute. No matter what scale of production you set out to make, scheduling should be taken seriously. Very seriously.
This post will go through some of the key areas of film production scheduling, from the script breakdown to listing all of the elements you should consider when creating your own shooting schedule.

Script Breakdown Basics
The 1st AD creates the shooting schedule on a professional production is, traditionally. However, often the entire production team, including the producer, production manager, and director, will closely look over the schedule and have a say in how the film production dates will be organized.
These days it’s typical to use software such as movie magic scheduling. However, you can still do this yourself with a computer Excel document or simply a notepad and pen.
To begin this process, you will need to closely read your script and create a breakdown of each scene.
Breaking Down Your Script
The first thing you need to do before creating your shooting schedule is to complete a script breakdown.
This means reading through your screenplay carefully and making detailed notes on what is required for each scene.
In the breakdown, you will list any elements that appear within each scene. Elements are everything you can see or need to make a scene possible. This includes cast, props, set design, costumes, makeup, stunts, and special effects.
You can do this on paper or with a computer document. Simply list all of the elements that are present in every scene in your film.

Film Stripboard
Traditionally a stripboard or production board is a color-coded chart containing information on each scene.
This chart would be printed out and hung in the production office wall. Scenes would then be rearranged by the 1st Assistant Director to create a shooting schedule. These days it is more common to use computer software, but you can still do this on paper.
Page Count
It is also helpful to know exactly how many pages of screenplay you are dealing with. For example, you might have a 90-page screenplay, but within it are blank pages or scenes that only take up half a page. In reality, you might have only 80 pages of a screenplay to film.
If you wish to create a more professional script breakdown, you will now want to break your script pages into 1/8ths.
This literally means dividing each screenplay page into eight sections. In simple terms, this is because one page of screenplay roughly equates to one minute of screentime, and it is easier to create a film schedule based on seconds of screentime than on minutes.
On a professional call sheet, you will see how many 1/8ths of a page you are filming each day jotted down next to each scene.
The breaking down of pages into eighths was first devised when filmmakers decided that it would be more functional to shoot a film out of chronological order. It was found that dividing a script page into eighths was the most practical way of doing this. If you are shooting anything other than a student film or micro-low-budget indie, make sure to get an experienced 1st AD and Script Supervisor to help keep track of the film’s process.
After you have gone through every scene and made a note of all of the elements (and perhaps divided your scenes into eights), you can now begin to create your shooting schedule.
You might also be interested in reading our detailed article on how to create a film budget breakdown.
Creating Your Schedule
By now you should have read through your script several times, so you have a good idea of what is needed in each scene.
Keep in mind that your shooting schedule will change. There is no such thing as a perfect production schedule. Filming is unpredictable—crew might get sick, the equipment could beak, and weather can suddenly take a turn for the worse. Still, it is best to head into production with a well-thought-out shooting schedule at hand.
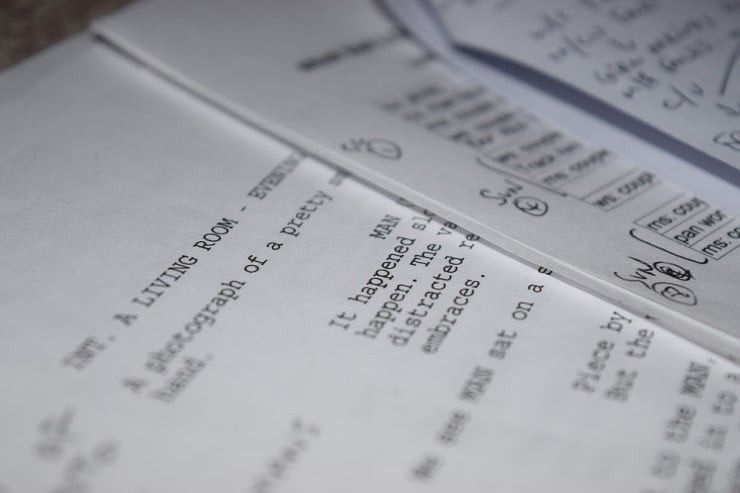
To create this schedule, you can use computer software or go old school with pen and paper. The shooting schedule template above is an example of how a daily page of shooting schedule would look.
Your schedule will importantly differ depending on the scale of your production. For example, a major studio production might only get through one page of script a day, while an independent production could aim for five pages of script a day. How many pages of a script you have and how many pages you aim to shoot for each day will give you a very basic idea of how long it will take to shoot your film.
Next, consider what type of production schedule you want. For example, a typical film set will run on a six-day workweek, with 11 hours of work each day and a one-hour lunch break. However, your ideal shooting day might look different.
Mainly, avoid seven-day work weeks and consider what is the max number of hours you aim to work for each day. Add extra time to every day’s shooting schedule just in case you need it. In addition to extra time, you might consider having a few days extra at the end of the shooting schedule in case of any pickups or reshoots.
It’s helpful to create a flexible schedule if possible, just in case. Problems arise during production, and there will be no avoiding schedule changes.
At this early stage of creating a schedule, you should have an idea of how many days of filming you will need. Next, we need to make that schedule more realistic.

Cast and Crew Availability
In an ideal scenario, you will have several meetings with key crew members before production takes place. If that’s not possible, make sure to call up and chat with each crew and cast member while you are scheduling.
Maybe you can afford to fully pay and book cast and crew for a complete block of time. If you can’t, there is a chance that they will have other commitments. It’s unlikely on a low-budget film that everyone will be free every day you wish to film. Get people’s availability as early as you can and make a note of any other commitments people might have.
Another reason for getting a cast and crew opinion on the shooting schedule is that each department’s needs might affect it. For example, the art department might want some scenes to be carried out towards the end of the shoot as they don’t have enough prep time within a certain location. In another example, costume and makeup might prefer scenes to be done at the end of the shoot for continuity reasons. You never know what problems might occur to mix up the schedule out of sequence, so it’s best to predict issues beforehand.
While creating your schedule, it can be good to have a calendar close by and take notes on the availability for key cast and crew. Keep these notes to refer back to at a later date.
What Scenes To Shoot First
When first scheduling your film, you can place all of the scenes in your film into the schedule chronologically. Some directors wish to shoot in chronological order. On other shoots it is only feasible to shoot out of order. For example, shooting all of the scenes that take place in one location at the same time (regardless of where these scenes appear in the script timeline) can help make the shoot go faster.
Another tip is to plan the most complicated scenes first. Do the more complex or important scene at the start of each shooting day. That way no matter what occurs to slow your daily schedule down, at the very least you will have hopefully ticked off one major scene.
You will also need to consider actor’s energy and emotions. Scheduling two emotionally exhausting scenes right after the other might be too draining for an actor. Also consider physically demanding scenes such as fight sequences. For these reasons, when planning the scene order it can be helpful to work closely with the director.
By now you should have a basic shooting schedule. You can send this to key crew members for initial feedback. However, there are still a lot of factors to keep in mind before you have a fully working first draft.

Day and Night Scenes
Your script might have a mixture of day and night scenes. If you have an idea of what month you are shooting in, double-check the daylight hours during this time. Depending on where you are in the world daylight hours will vary. Also, consider weather conditions if filming outside. Of course, you can’t predict the weather, but you can have a general idea of what to expect.
Depending on the desired number of hours you wish to shoot for each day, you will have to block shoot day and night scenes separately. For example, you might shoot outside in daylight for the first two weeks and have a night-time block during the second half of filming. How you arrange day and night scenes on your schedule will depend on a lot of factors.
Keep in mind that you can’t go straight from a day shoot to a late-night shoot the following day. You will have to give a few days in between for people’s internal clocks to adjust. Just like if you were organizing a rota for any ordinary job, you need to be conscious of people’s energy and rest time.
Lastly, make sure to let cast and crew know in advance if you are planning on scheduling a lengthy night shoot.
In general, night shoots more expensive to produce (both for hiring out equipment and hiring locations, and crew can have higher nighttime wages ). As such, on a low-budget film, it would be wise to keep night shoots to a minimum.
Location Availability
It’s likely that a lot of your scheduling will come down to location availability. Hopefully, you don’t have too many location changes in your film. Location changes during a shooting day (no matter how close together the locations are) will take up chunks of precious time. If possible avoid having any major location changes during one filming day.
You will need to get in touch with the owners of locations and find out what days and times you are allowed to use them for filming. There may only be a certain day of the week when one location is free, or you might only be allowed to use a location for certain specific hours in a day. Even if you’re not booking locations yet, it is helpful to have a general idea of what the rules are for filming in each one.
If there are important scenes that happen in an outside location, it might be best to schedule these scenes earlier in the shooting schedule. That way if weather problems come up, you can move these important scenes to later on in the schedule.
It’s typical for a shooting schedule to change regularly during production. Scenes will move along and across the schedule calendar as problems occur. But hopefully, by gathering as much knowledge as possible on all of the elements needed in each scene, you will be able to always adapt and have something to film on every shooting day.
Equipment & Production Design
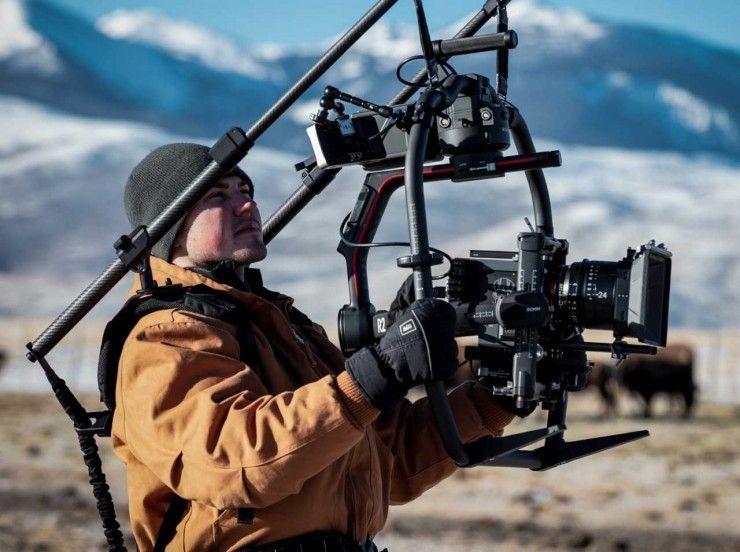
Another obstacle that might shake up your schedule is equipment. Hopefully, your main camera and sound equipment are available throughout the whole production. For specialty grip equipment like cranes or a Steadicam, you might only have access to these on particular days.
In general, your equipment availability will depend a lot on your production type and how much money you have to put down on hiring equipment. For example, on low-budget independents, you might be getting by on favors, or relying on the crew to bring their own equipment to set.
Vehicles, major props, and production design might need longer prep to gather or create before filming begins. This is why it’s good to discuss the schedule with all key crew members before filming. During pre-production, it can be a good idea to have a read-through of the script with all heads of departments present. This way everyone can discuss what they need for each scene, and it’s an easy way to avoid any crew arguments that might arise during production.
In short, the more time you put into pre-production and planning, the smoother and more successful your production is likely to be.
Re-Drafting Your Schedule
Your shooting schedule will change many times throughout the production process. When you get a new piece of information (be that lack of availability for a cast member, location, or prop), you can simply adjust your production schedule as you go. It’s not uncommon for there to be changes in a schedule every day on a film set. As such it is good to have all of your information in one place. That can be in a computer document or folder.
Also, why not consider creating your own production office wall stripboard with scenes that can easily move position as the schedule changes? A large wall stripboard might be the easiest way to visualize all of these elements and scenes coming together.
